Summary: Selecting the right home sauna kit can completely transform how homeowners unwind after demanding workdays – but understanding installation requirements, and quality indicators is essential for making informed decisions. This guide explores DIY installation considerations and quality assessment criteria – providing the roadmap needed to choose a sauna that delivers lasting satisfaction, wellness benefits, and excellent return on investment. Whether considering indoor or outdoor installations, budget considerations, or manufacturer evaluation, this resource helps buyers navigate the selection process with confidence.
The wellness industry at home has grown tremendously in recent years, with sauna installations showing remarkable increases since 2020. Property owners across the country are embracing what Nordic countries have practiced for centuries – that consistent sauna use delivers significant advantages for physical and mental wellbeing. Benefits such as reduced stress levels, better heart health, and improved sleep patterns have transformed personal wellness areas from luxury features into necessary components of contemporary residences. At Home Sauna Kits, our team has observed this shift directly through nearly five decades of helping families build their ideal wellness spaces with demonstrated expertise and client satisfaction.
Yet the marketplace offers varying quality levels in home sauna kits. What separates average installations from truly transformative wellness experiences often comes down to making educated decisions about wood materials, heating equipment, and supplier support services. Grasping these essential elements helps ensure your wellness investment delivers lasting value.
Essential Factors to Consider When Selecting Your Home Sauna Kit
Space Requirements and Customization Possibilities
Saunas typically need their own 220-volt electrical connection, matching the requirements of household dryers. This type of electrical work demands licensed professionals with proper training. Qualified electricians guarantee both safety standards and building code adherence. Any money saved by attempting electrical work yourself pales against potential fire hazards and property damage risks.
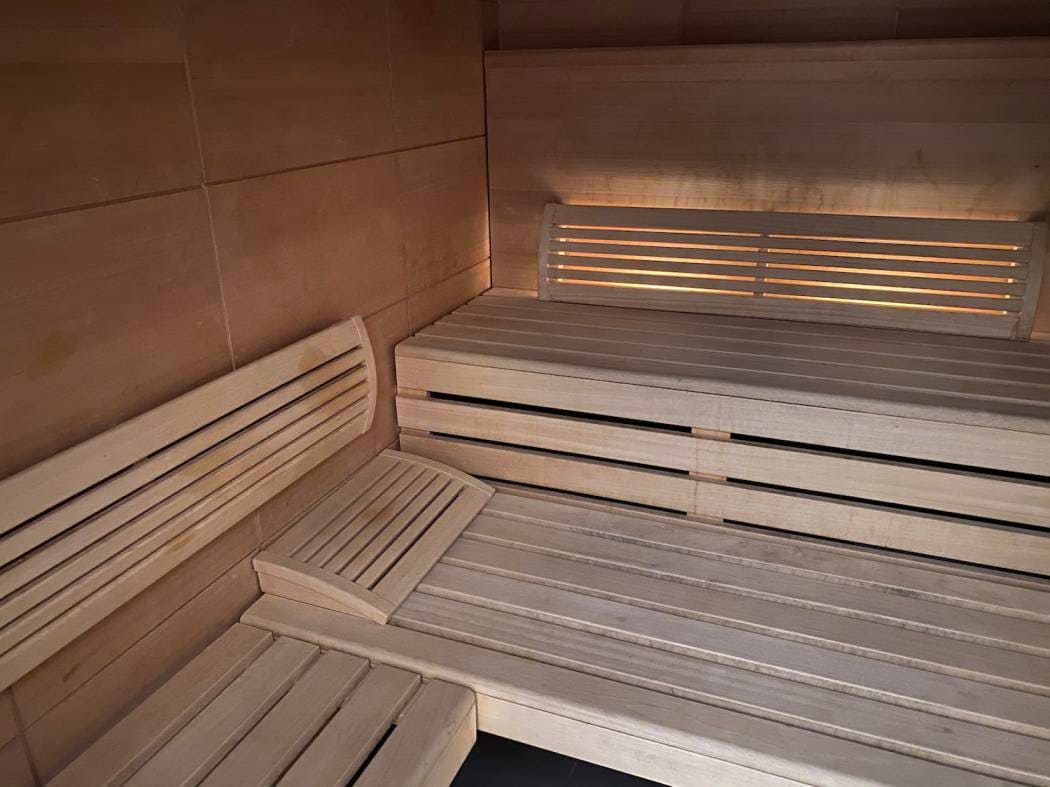
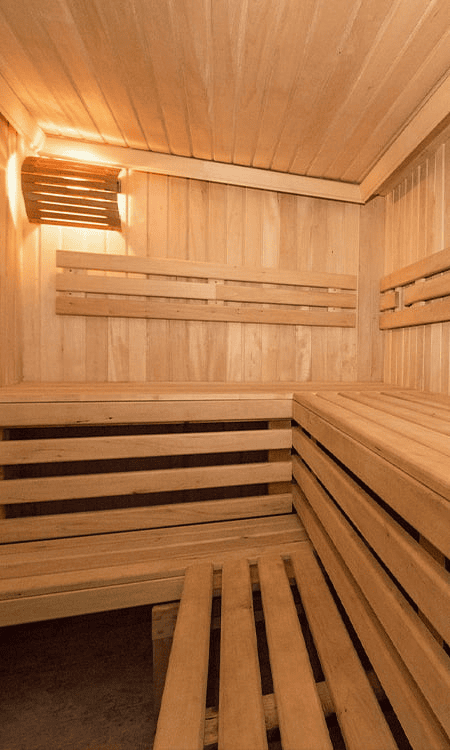
Today’s sauna kits provide exceptional adaptability for various spaces. Suppliers have created systems that work with angled ceilings, allow custom window positioning, and accommodate specific bench preferences. Leading manufacturers design kits that adapt to your available space instead of requiring major home modifications.
Planning for future needs makes sense when choosing sauna dimensions. Household dynamics often shift as time passes. Family members may develop interest in using the space, or you might entertain guests more often. Installing a larger unit now costs far less than rebuilding an inadequate sauna down the road.
Material Quality and Construction Standards
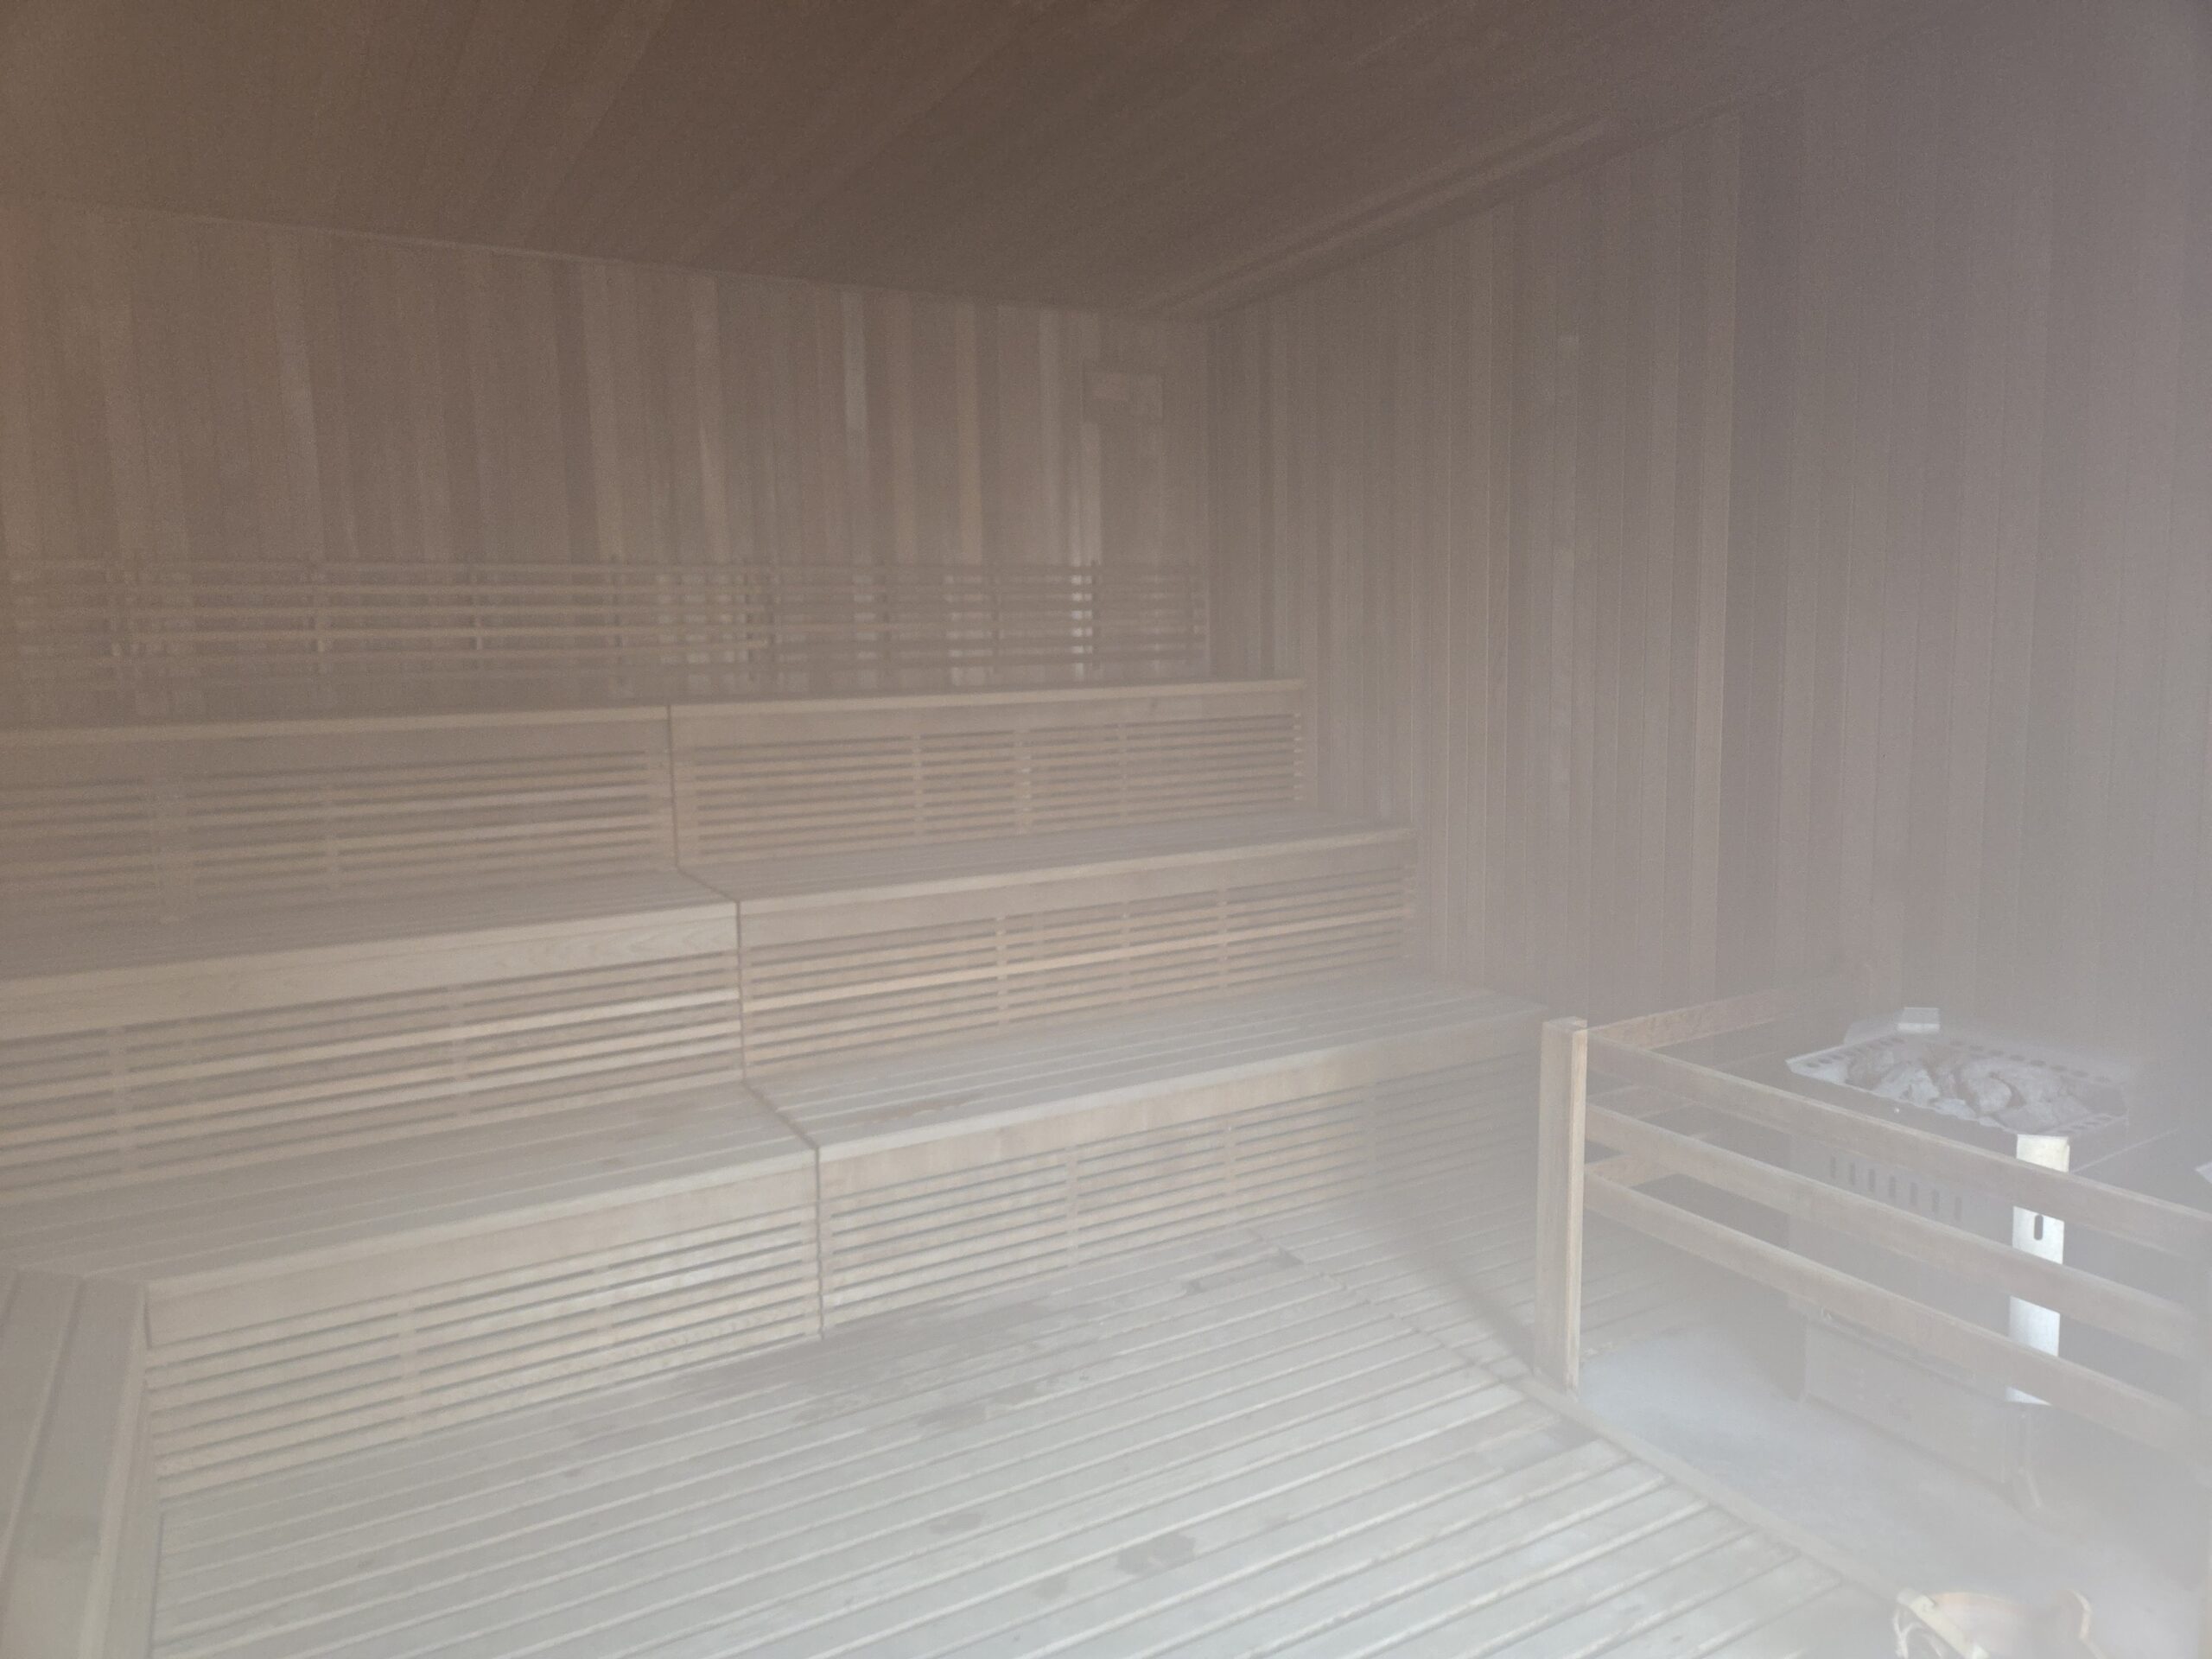
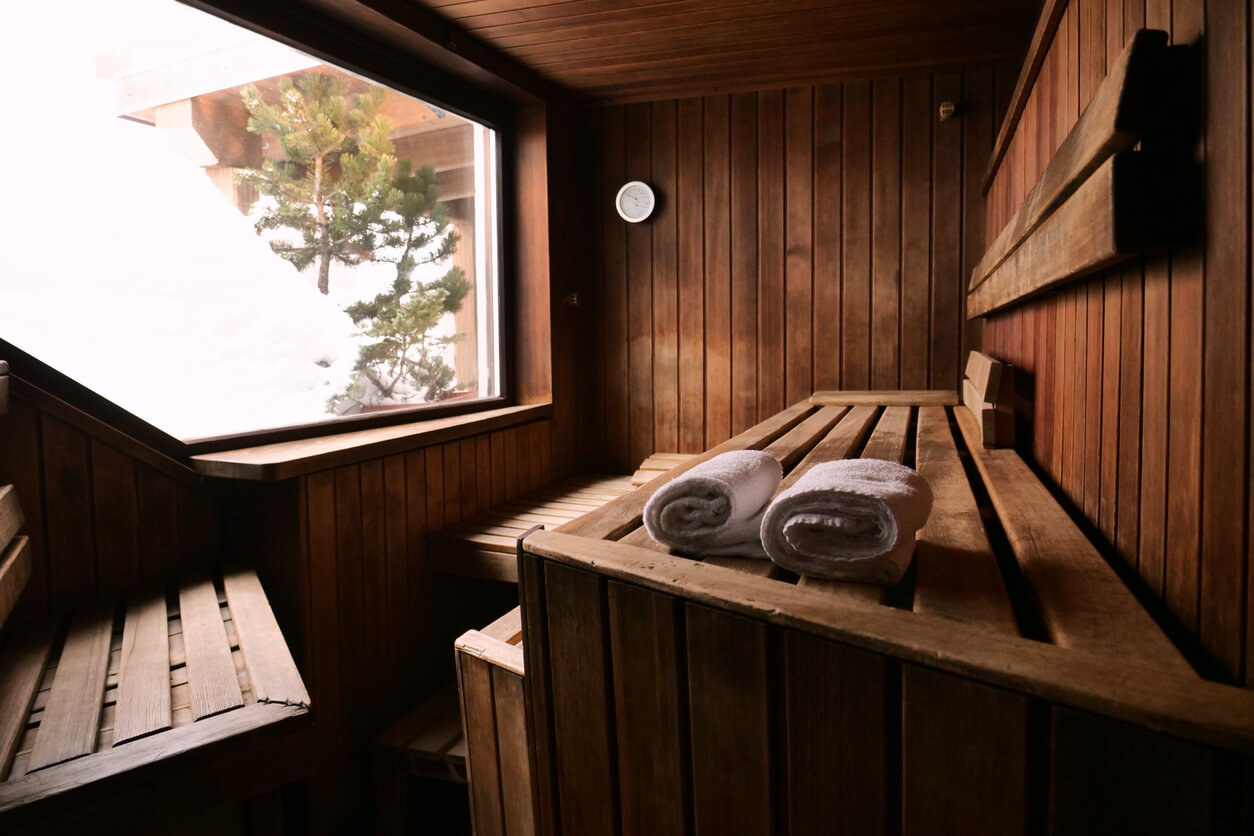
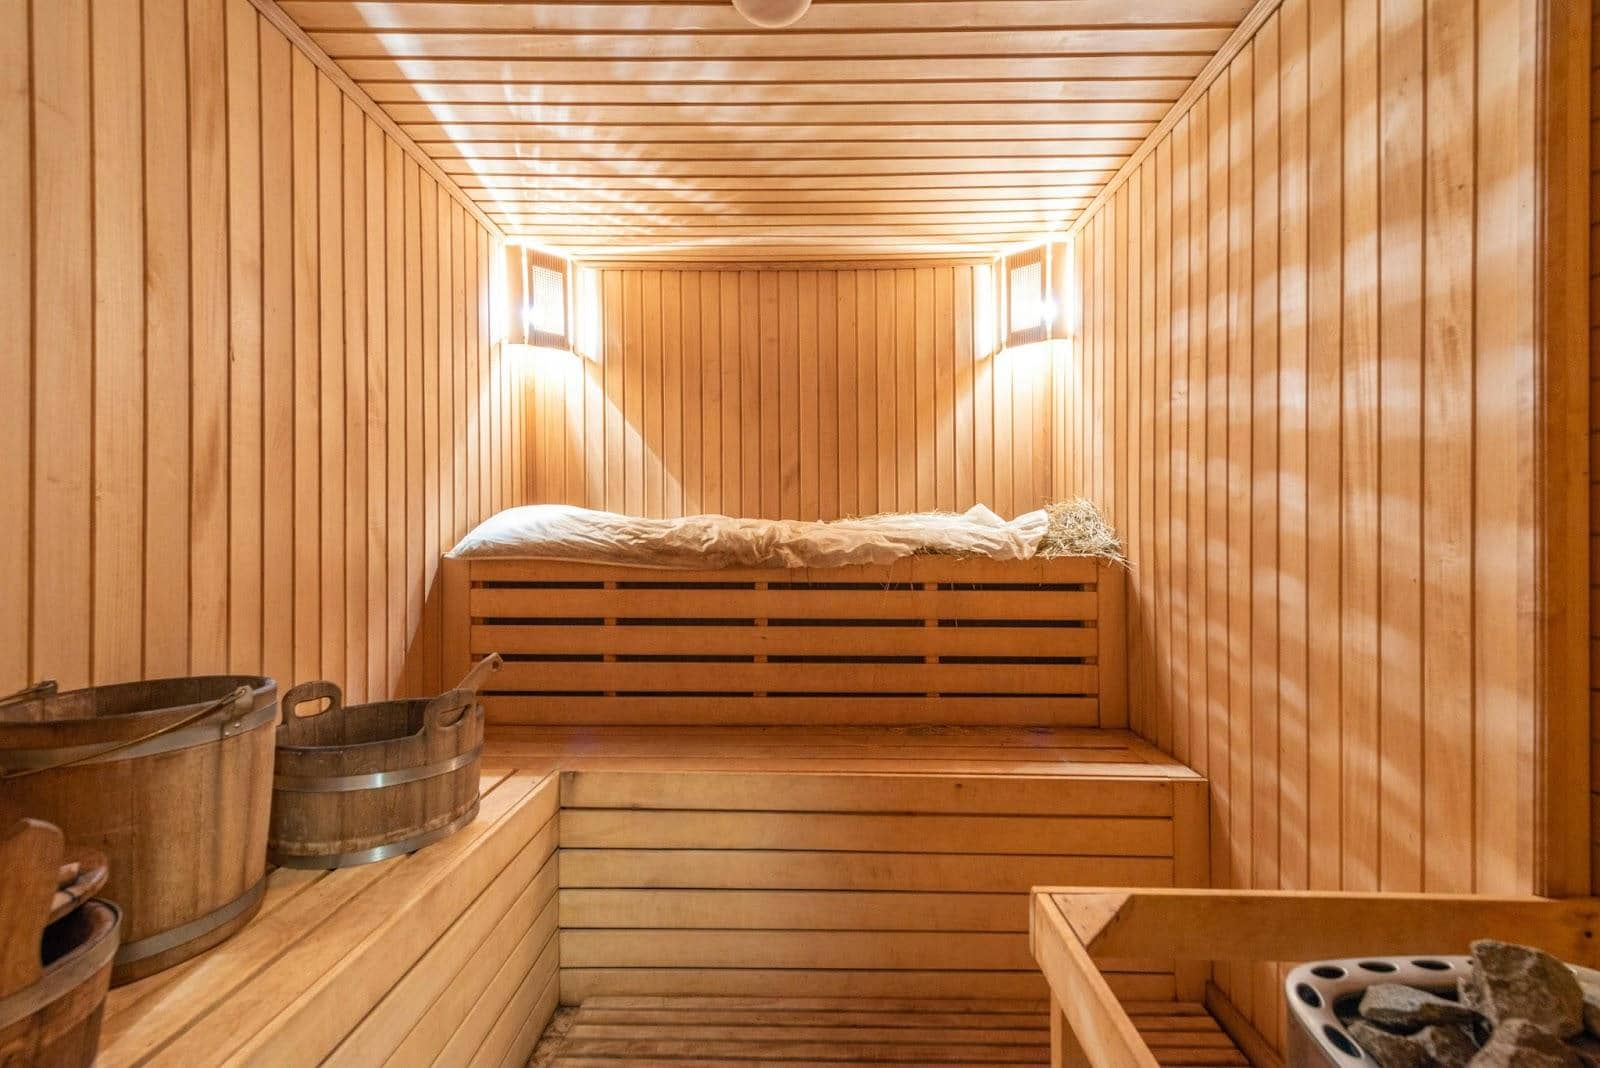
Your choice of wood dramatically affects sauna durability and function. Cedar stands out among options due to specific qualities that matter. The wood naturally prevents moisture problems, discourages insect activity without chemicals, keeps its shape over years of use, and produces appealing scents during heating. Among cedar varieties, Western Red Cedar delivers the finest results.
Insulation quality impacts both efficiency and building protection. Poor insulation lets heat dissipate while allowing dampness into wall spaces. Proper vapor barriers combined with appropriate insulation ratings for your region prevent such issues. Spending more on quality insulation materials safeguards your complete structure against moisture damage.
Small hardware pieces require serious attention. Regular metal parts corrode quickly when exposed to sauna conditions. Components made from stainless steel maintain their function despite years of heat and moisture exposure. Hinges and handles see constant use, making material quality especially important for these items.
Assembly success depends heavily on manufacturing precision. Board edges should connect smoothly with no spacing between pieces. Components cut accurately beforehand make installation straightforward and proper fitting guaranteed. Companies that emphasize precision cutting know that customers notice poor workmanship immediately.
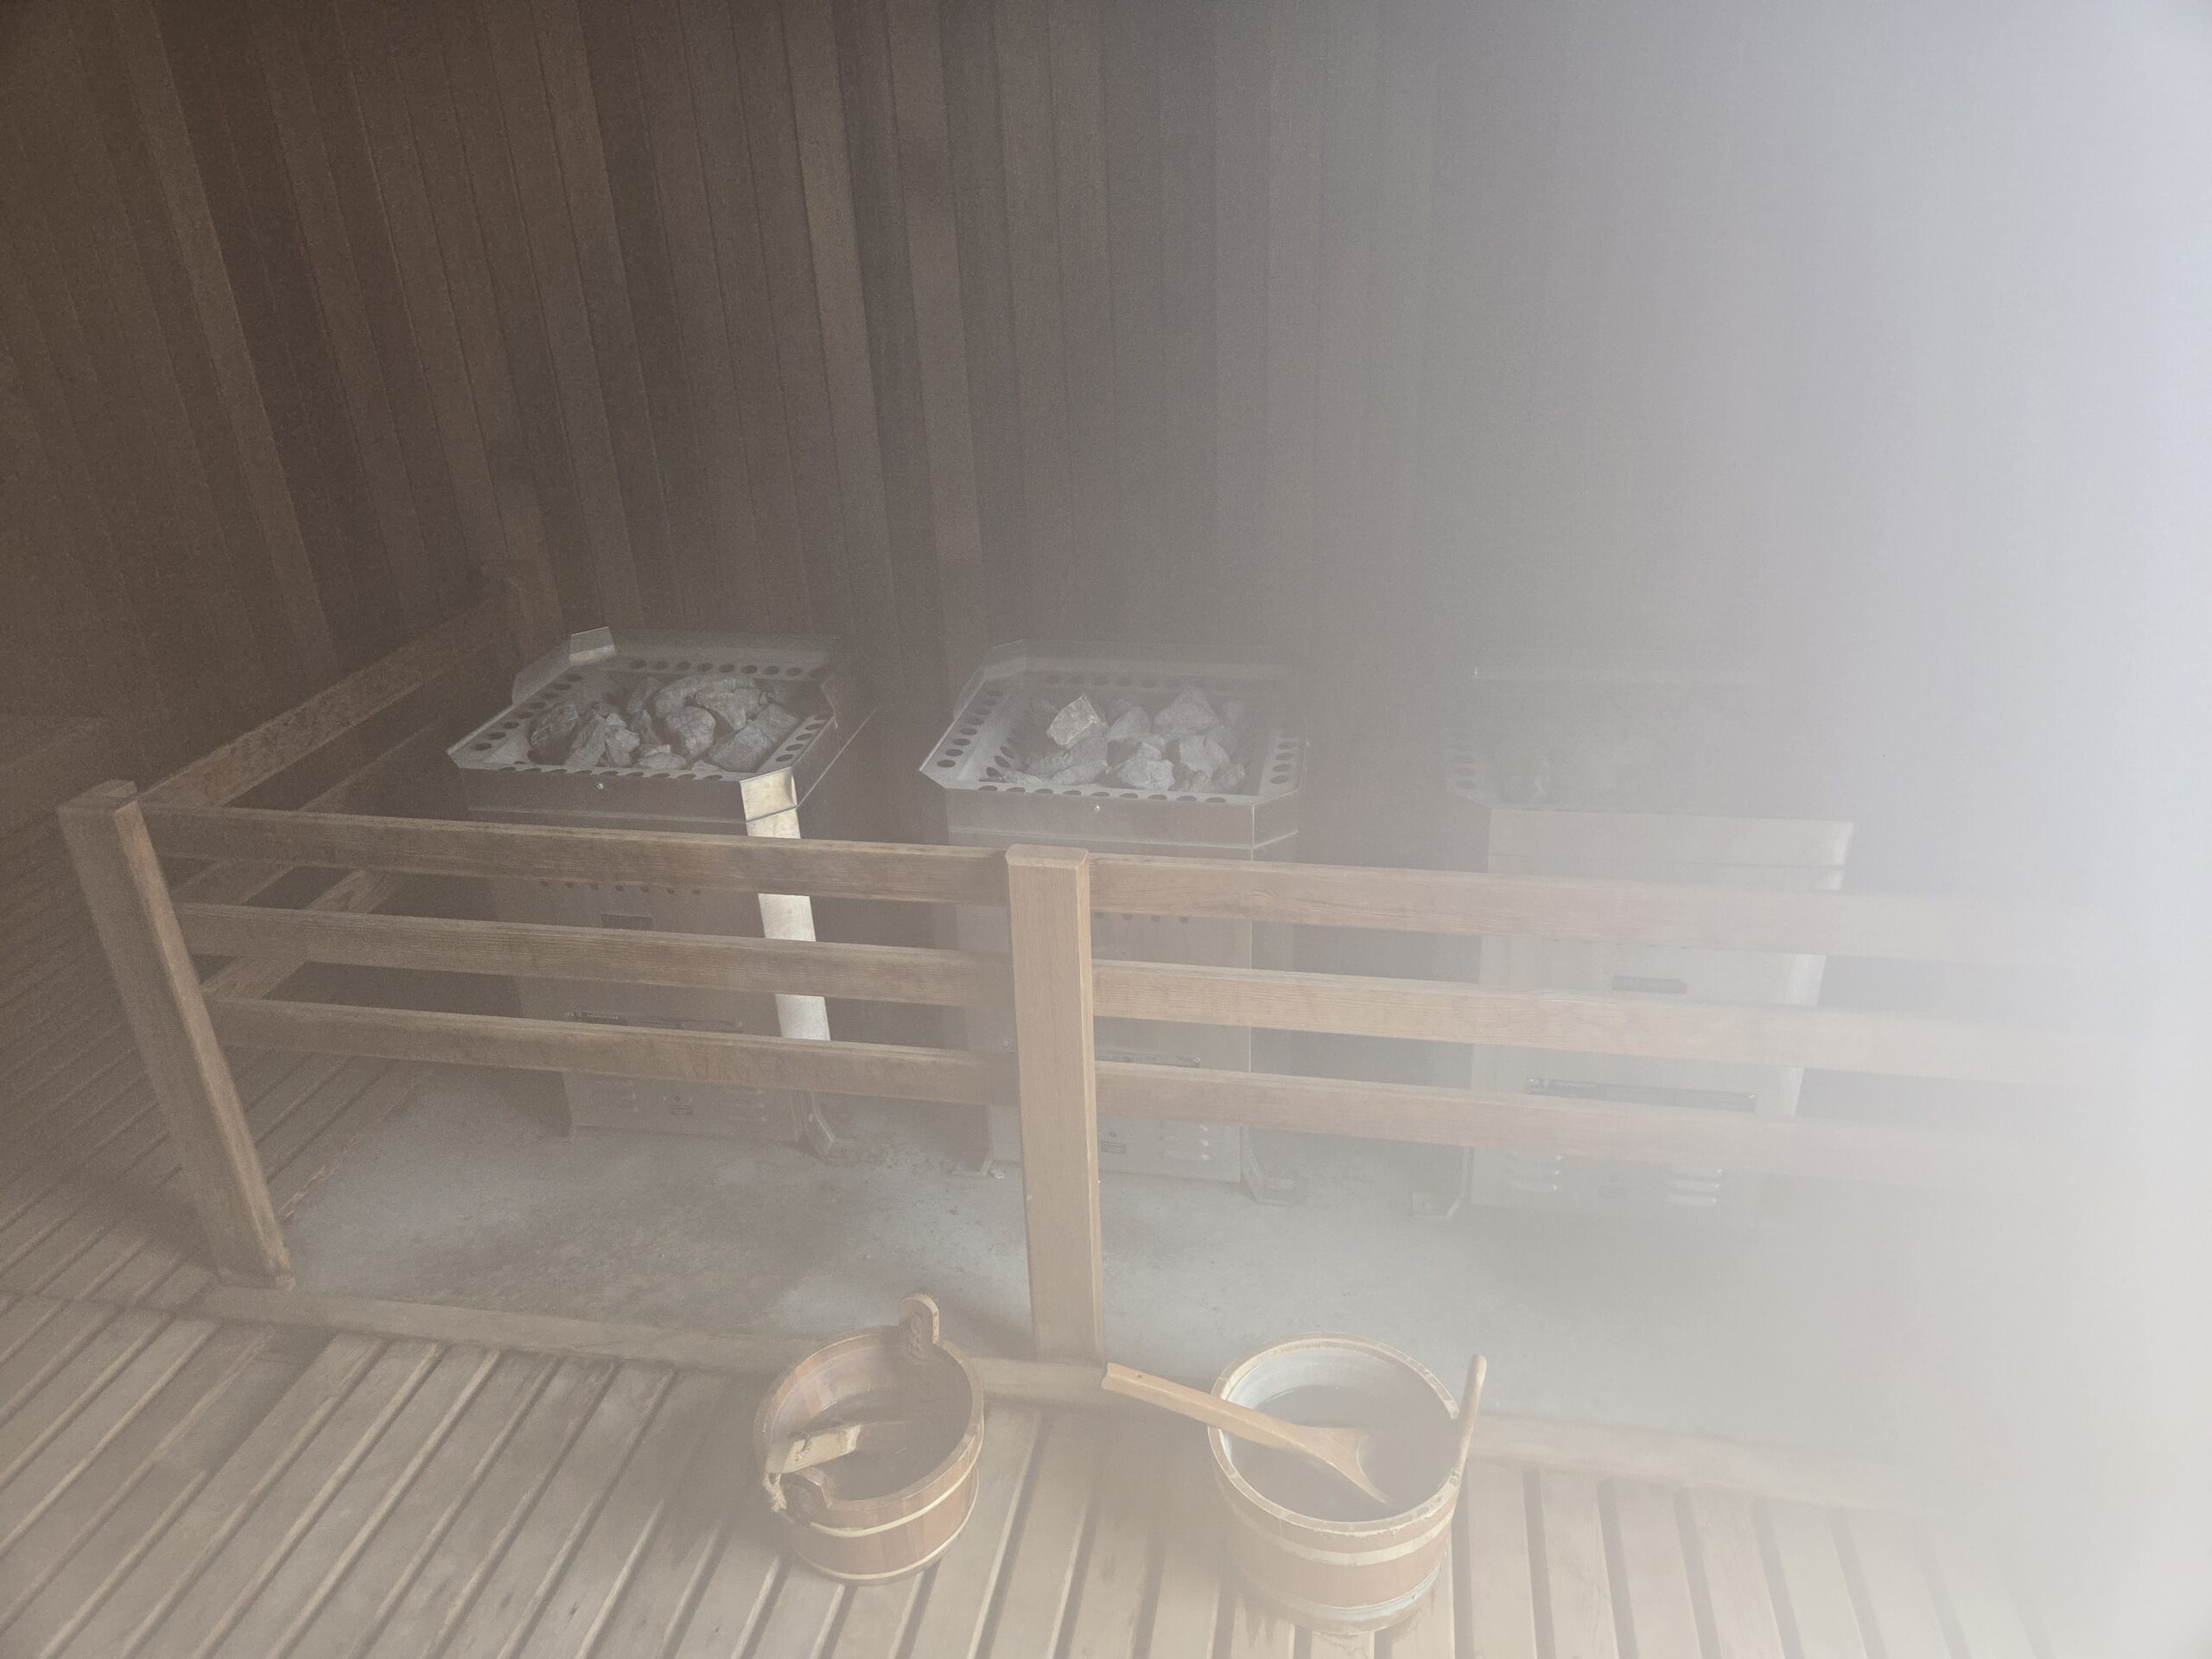
Heating Systems and Control Features
Electric heating units lead the home sauna segment for solid reasons. They deliver reliable performance, include comprehensive safety systems, and allow exact temperature management. Current models feature numerous protective elements such as automatic power cutoffs, temperature monitoring sensors, and redundant safety systems. Electric units heat quickly and keep temperatures steady during use.
Traditional wood-fired heaters create an authentic sauna atmosphere, especially for outdoor units. Many enthusiasts enjoy the ritual of preparing fires for their sessions. These systems demand more upkeep and require proper ventilation planning for safe use.
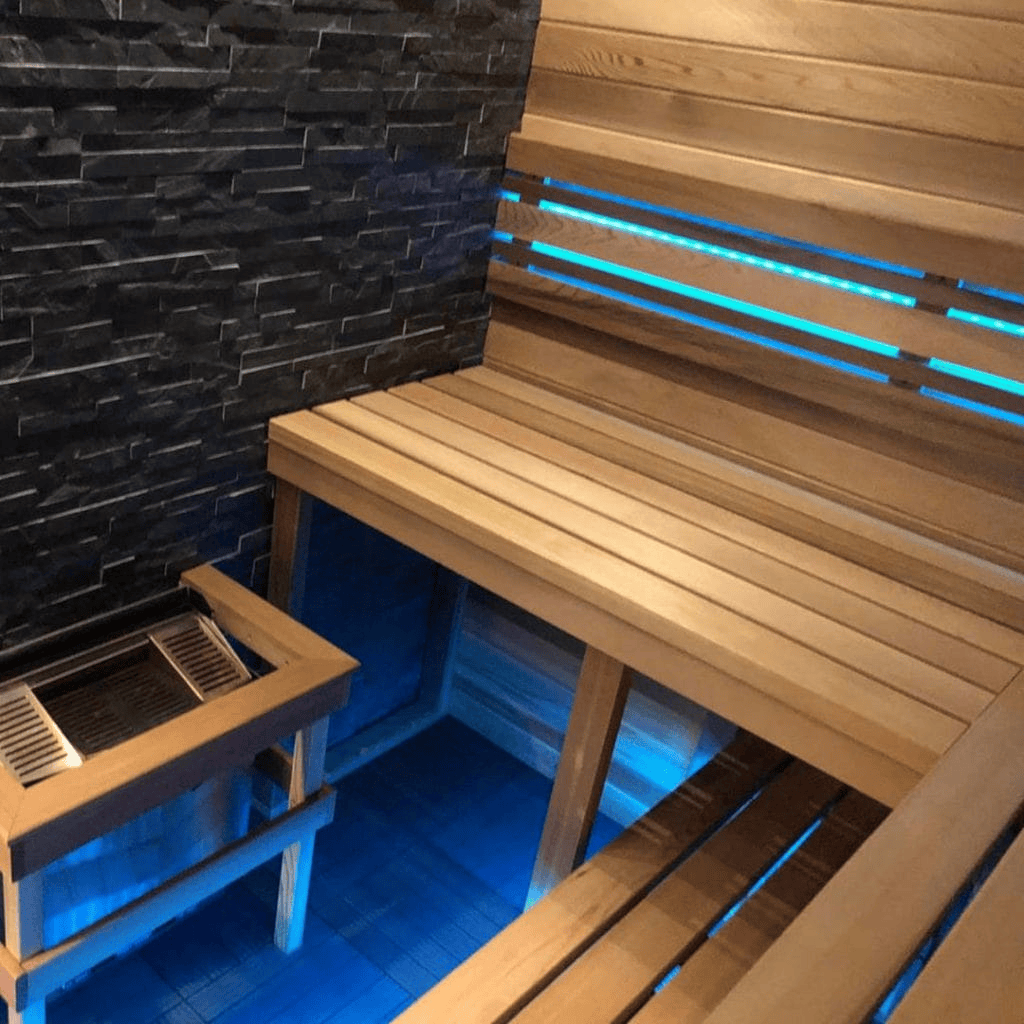
Modern control panels have advanced considerably. Digital versions enable precise temperature selection, timer programming, and certain models connect with mobile devices. Basic analog controls work well for those wanting simplicity. Smart programming on digital units frequently lowers energy consumption.
Every heating system must include essential safety elements. Power cutoffs, maximum temperature controls, and recognized safety certifications keep users and buildings safe. Premium heaters use backup monitoring systems to detect potential issues.
Energy expenses pleasantly surprise many first-time owners. Properly built and insulated saunas using efficient heaters generally cost less monthly than hot tub operation. Running cost estimates using your area’s power rates and expected use patterns aid budget preparation.
DIY Installation vs. Professional Assembly: Making the Right Choice
Benefits of DIY Home Sauna Kit Installation
Building a sauna yourself brings rewards beyond monetary savings. The process of constructing a personal relaxation space with your hands creates special satisfaction. Assembly work itself becomes rewarding, providing achievement feelings before enjoying that first session.
Current kits make construction manageable for typical homeowners. Parts come pre-measured, holes already prepared, and directions that genuinely assist. Think of it as assembling premium furniture at larger dimensions. Those who successfully build standard furniture usually have adequate abilities for sauna assembly.
Self-installation lets you control the schedule completely. Work when convenient, pause as necessary, and adjust details while progressing. Extending assembly over several weekends fits many people’s availability without household disruption.
Cost reduction from self-installation usually falls between 30 and 50 percent of project expenses. Such savings enable better component selection. Premium sound equipment, mood lighting systems, or superior wood grades become feasible when eliminating contractor fees.
Honest evaluation of your abilities matters before choosing self-installation. Projects demand reasonable building skills, proper equipment, and persistence through complex sections. Those frustrated by simple furniture projects should hire professionals.
When Professional Installation Makes Sense
Some projects clearly need expert installers. Wall relocations, main electrical panel modifications, or industrial ventilation installations exceed amateur capabilities. Licensed professionals know permit processes and regulations specific to each area.
Contractors bring liability protection and specialized expertise. When floors need reinforcement or major wiring work, their knowledge prevents expensive errors. They spot issues early and fix problems before completion.
Limited time often makes professional fees worthwhile. Trained teams finish work in days instead of amateur weeks. Those with packed calendars or immediate installation needs gain from professional speed.
Complex custom projects usually demand experienced specialists. Squeezing saunas into difficult areas with odd shapes, pipes present, or building quirks requires skilled solutions. Expert installation quality in tough situations frequently justifies extra costs.
Support and Guidance for Successful Installation
Clear documentation changes difficult work into achievable projects. Good manuals feature understandable drawings, helpful photos, and solutions for typical problems. Quality guides dramatically increase self-installation success.
Available phone assistance proves extremely valuable during building. Getting through to staff who know products thoroughly prevents extended delays. Top suppliers support customers throughout construction.
Planning help before ordering prevents typical errors. Knowledgeable suppliers provide space planning, parts selection assistance, and issue spotting before purchases happen. Such early help beats any manual alone.
Instructional videos and customer groups offer extra assistance. Seeing others complete your current task removes confusion. Discussion boards for sharing tips and victories build helpful communities.
Navigating Price Points and Value Propositions
Understanding Home Sauna Kit Pricing Factors
Market prices range widely between basic models and luxury options. Knowing what affects costs identifies real bargains from disguised inferior products.
Wood quality substantially changes pricing. Yes, top cedar costs exceed basic hemlock prices. However, you gain better longevity, shape retention, and wonderful fragrances. Superior wood grades prevent bending, extend lifespan, and minimize upkeep.
Heating unit choices impact budgets twice – purchase and operation. Inexpensive heaters seem appealing now but waste electricity later. Better units feature intelligent controls and stronger safety systems worth their prices.
Comparing kit contents reveals true costs. Some packages include everything – lights, air systems, extras included. Others provide minimal basics. Fair comparisons demand total project pricing with required parts factored in.
Professional setup usually increases costs by 30-50 percent. Planning for these charges initially avoids budget shocks and supports smart choices.
Maximizing Investment Through Smart Selection
Accurately evaluating real requirements avoids excess spending. That huge six-person model looks impressive, but two-person households waste funds three ways – buying, installing, and heating forever.
Focus spending on personally important features. Perhaps wood excellence matters more than computerized controls to you. Maybe convenient operation beats material improvements. Your priorities should determine purchases.
Warranty terms reveal manufacturer confidence levels. Long, complete coverage indicates faith in products. Weak warranties suggest expected failures.
Future support impacts ownership satisfaction. Suppliers maintaining service teams, carrying spare parts, and helping after sales beat those vanishing post-purchase.
Common Challenges and How to Overcome Them
Addressing Installation Complexity Concerns
Initial sauna assembly seems intimidating, yet current designs suit average abilities. Suppliers complete difficult manufacturing work, leaving reasonable tasks for buyers.
Breaking work into stages reduces stress. Start with area preparation and electrical completion. Then construct the main framework. Add final elements and test operations last. Small steps prevent burnout.
Allow sufficient time for quality results. Standard self-builds take two through four weekend periods. Hurrying creates problems and anger. Proper scheduling enhances outcomes and satisfaction.
Manual quality differs greatly among suppliers. Businesses focused on customer assembly write clearer directions from experience. Various help options boost completion success.
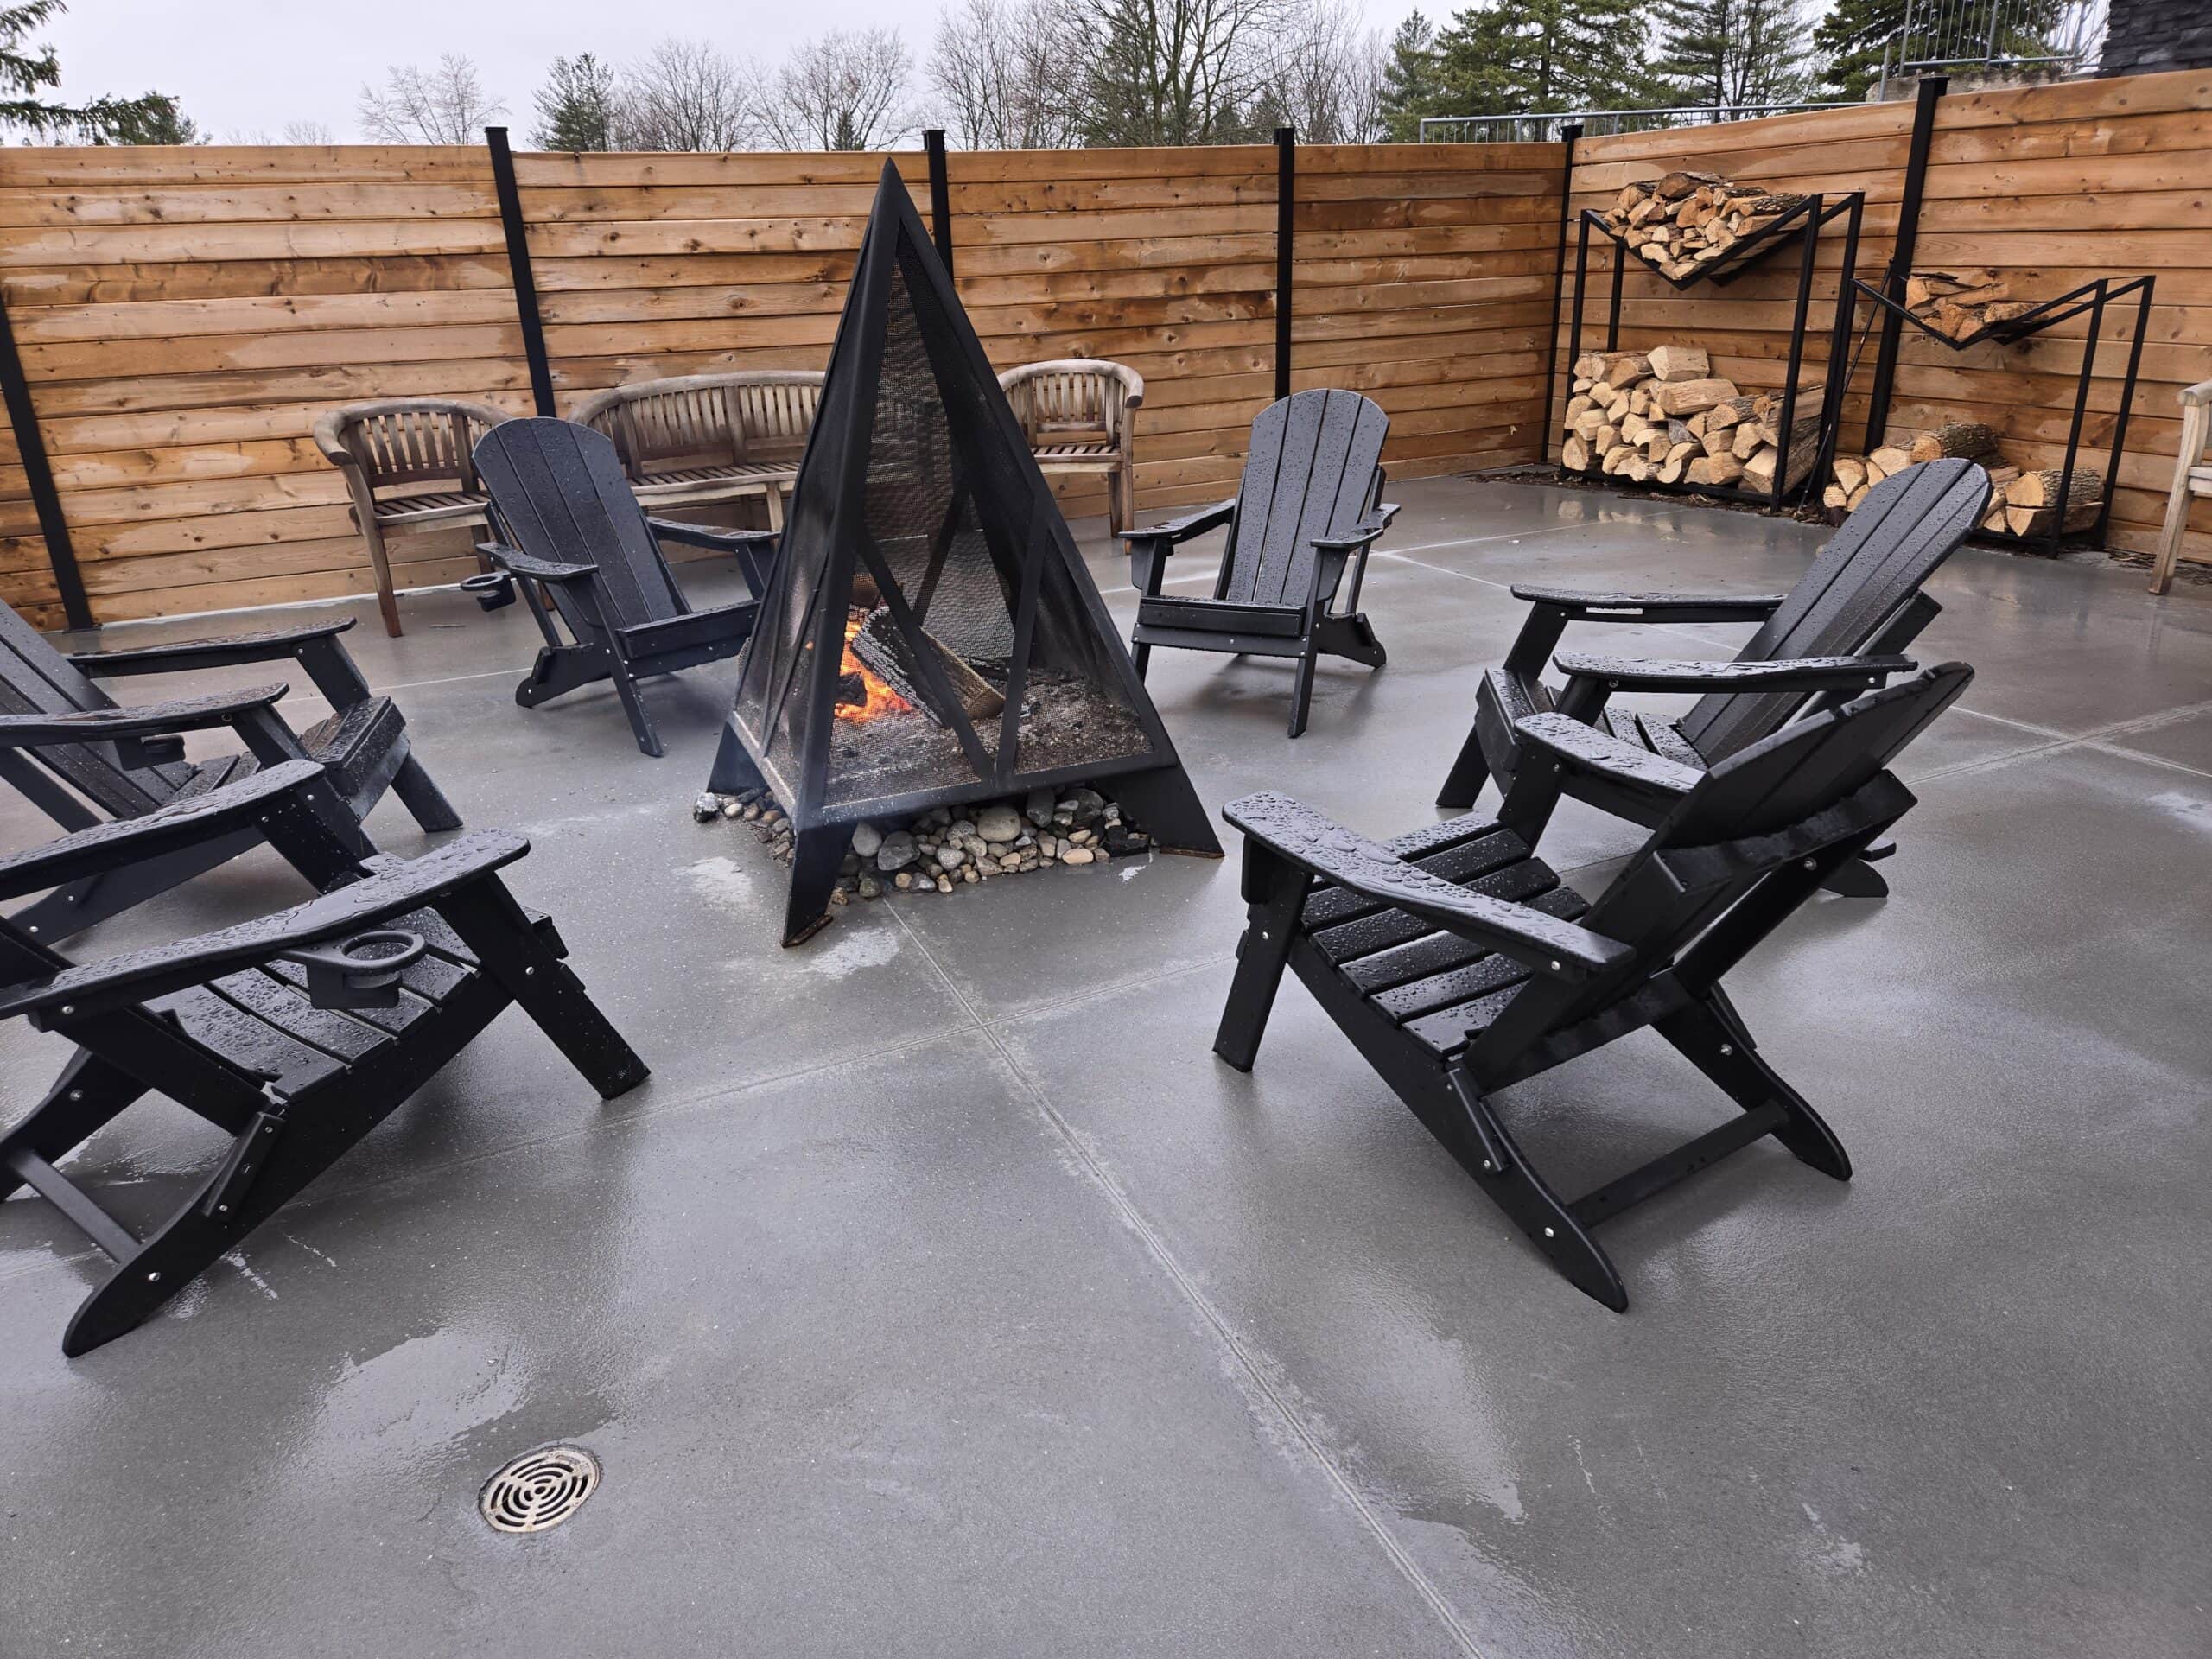
Space Limitations and Design Solutions
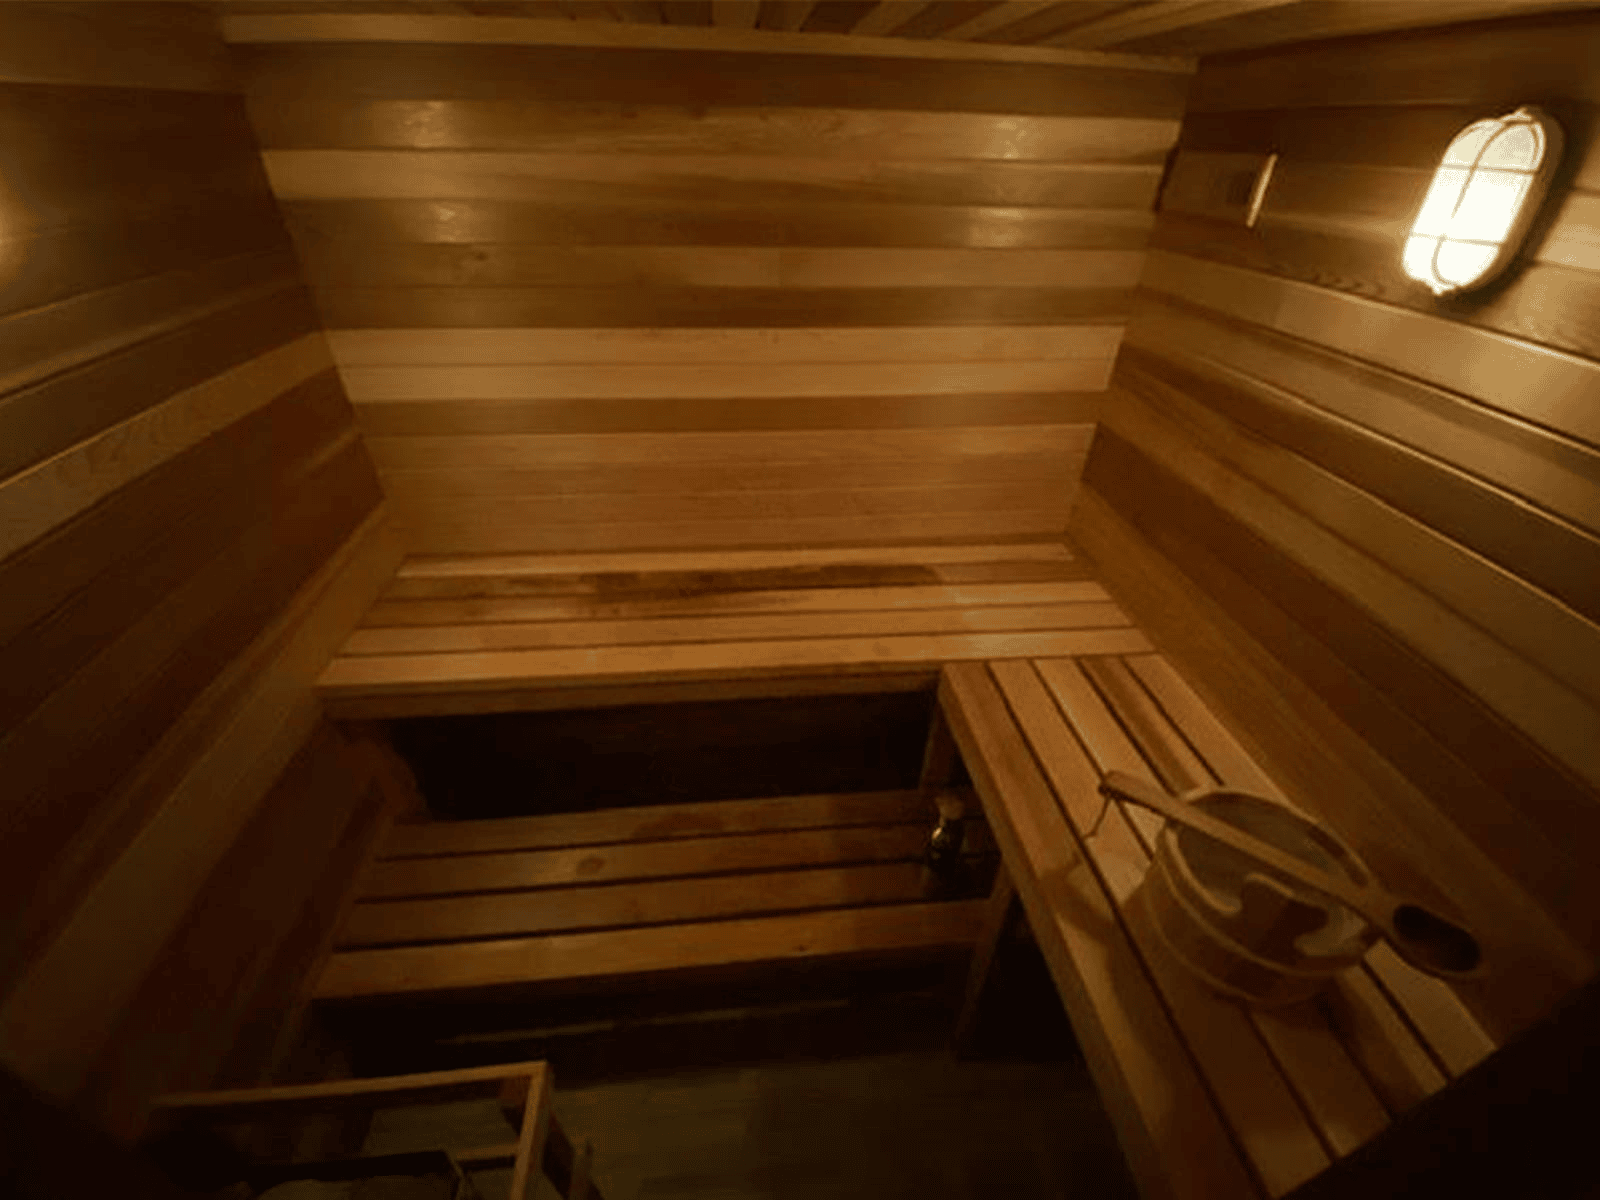
Tight spaces still allow sauna installation. Small units work well in minimal areas. Corners provide efficient space usage. Innovative placement uses storage rooms, below stairs, and forgotten areas productively.
Basements make ideal sauna spots. Power connections usually exist close by, natural seclusion occurs, and outdoor weather becomes irrelevant. Good air circulation and moisture protection prevent basement-specific issues.
Modifications handle quirky areas well. Proven suppliers accommodate sloped roofs, height restrictions, and pipe routes. Extra customization expense creates ideal solutions for difficult spaces.
Why Experience and Reputation Matter When Selecting Home Saunas
The Value of Our Established Expertise
At Home Saunas, we’ve maintained successful operations for almost fifty years, showing our dedication to consistent excellence and support. We’ve completed thousands of installations nationwide, learning what succeeds and understanding product performance from coastal humidity to mountain dryness. Your purchase gains from these decades of refinements and proven solutions.
Through the years, we’ve built professional networks that smooth your project. Our connections span certified installers experienced with saunas, electrical contractors who know sauna needs, and inspectors familiar with our standards. Working with us means these relationships benefit your installation throughout.
Our Comprehensive Product Selection and Customization
We maintain broad product offerings suited to individual requirements. Instead of limiting choices, we supply options fitting your particular needs, available room, and personal tastes. From efficient two-person models to roomy family designs, we stock units sized appropriately.
Our real customization skills separate us from recent market entries. Beyond shipping boxes, we engineer saunas matching unusual areas using accumulated design knowledge and production capabilities. We measure your space, grasp your ideas, and produce saunas that seem designed specifically for that spot – because they were.
We constantly enhance our offerings using buyer input, adding improvements and fixing any weaknesses discovered. Choosing us means gaining from almost fifty years of continuous refinements. We understand customer desires through experience and incorporate those insights throughout our catalog.
Making the Final Decision: A Framework for Success
Final selections balance excellence, assistance, and worth thoughtfully. Most expensive rarely means best, though cheapest seldom satisfies anyone.
Research business backgrounds for useful information. Years operating successfully, buyer reviews, and proven abilities suggest dependability. Multiple decades serving happy clients indicates reliable excellence and support.
After-sale factors equal pricing importance. Thorough guides, solid guarantees, component access, and helpful staff provide worth beyond small cost variations.
Premium supplies and building methods merit higher costs via longer life and better function. Quality wood, proper insulation, and dependable heaters save money long-term though costing extra initially.
DIY versus professional decisions need truthful evaluation. Self-building reduces expense yet requires hours, equipment, and determination. Professionals charge more yet deliver quickly with guarantees. Either works when fitting your situation.
Looking at choices shows why we at Home Sauna Kits thrive after almost fifty years. Our broad selection, modification options, and client dedication produce real benefits. History demonstrates reliable excellence and assistance.
Home sauna purchases mean wellness investments beyond buying products. Good partnerships make these investments deliver stress relief, health improvements, and family memories across decades. Homes become retreats where tension vanishes, health advances, and daily living noticeably improves.